
Understanding Embroidery
1. What is “embroidery digitizing?”
“Embroidery digitizing” is the process of translating your digital art files (like .pdf or .jpeg files) into digital embroidery files (a .dst file in Tajima format) that can be used on a commercial embroidery machine to sew your logo onto fabric.
Koala Tee will take your digital artwork and plot out the order that our machines will sew each stitch. Once the design has been “digitized,” there is no reorder setup charge for that design on future orders.
The digitizing process is done by a talented individual who accounts for color, contrast, shape, and design arrangement, plus stitch direction, density, and length.
Koala Tee can create a new digitized embroidery file for you in just a few days. If you have had your logo digitized for embroidery elsewhere, you may provide it for a free test sew so that we can test the quality of the digitizing. You won’t be able to open the file without embroidery software, but you can always forward your files to us to open. (Look for: filename.dst)
2. What is involved in the embroidery process?
First, we create the digitized logo, select thread colors, run a test swatch, get your approval, and create a custom file for your design.
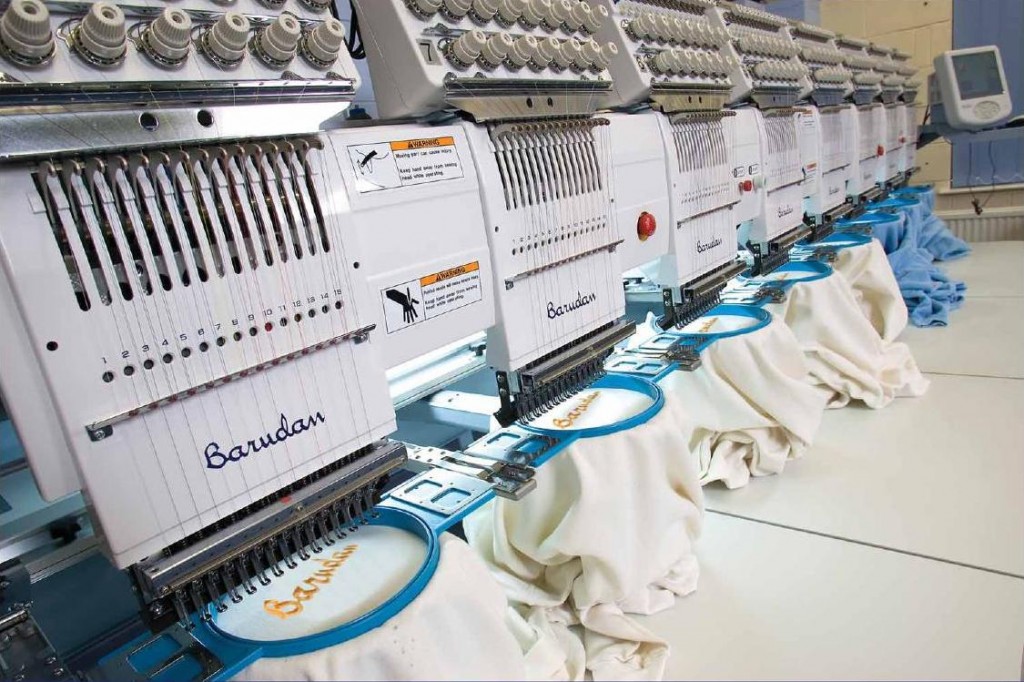
Second, we gather 12 batches of the thread to be used on your design and thread the needles for each of the 12 heads of our commercial embroidery machine.
Third, we cut the embroidery backing that will be used to stabilize your design, carefully measure the distance from the collar and placket of your shirt, and secure your shirt and the backing between two round 6″ hoops.
Next, we load the hooped shirts onto the machines, load the file into our commercial embroidery machine, and push the button to start.
Finally, our embroidery gals monitor the machine progress, remove the sewn shirts from the hoop, trim the backing and loose threads, steam your shirts, and fold them up nice and neat.
3. What are the limits of embroidery digitizing?
In simple terms, “less is more” when it comes to embroidery. Whenever possible, it’s best to eliminate or minimize small text (like a slogan or list of services) because the letters in small text can begin to fill in if you attempt to make them too small. It’s best to stick with your business name and graphic to create a simple, clean embroidery design.
We use 6″ round hoops to hold your shirt in place, and we need at least 1″ of space between your design and the hoops to account for the movement of the machine. (We don’t want the needle bashing into the side of the hoop!) Therefore, we’ll fit as much of your design as we can within that 4″ round area.
The average embroidery logo is around 3″ wide or 3″ tall. It just depends on the shape of your logo. Please contact us to submit your design for a free quote.
4. How does the size and density of my logo affect my price?
The larger and more dense your embroidery logo is, the greater the amount of “stitches” it will contain.
The greater the amount of stitches in the logo, the longer your job will take to run on our machines.
The greater the amount of time your job is being monitored by our staff, the greater the cost.